First Forays With Gosu - That One Bouncing DvD Logo
During my free time, I’ve been working my way through Learn Game Programming with Ruby . It’s a pretty fun book and can be picked up: HERE
It uses Ruby and the Gosu 2D game library which makes making simple games pretty easy. I’ve just made my way through the first four chapters which walks you through the creation of a whack-a-mole game (except you are trying to hit a blinking bouncing ruby). It goes through animating your images, keeping score, and how to make a time limit for your game. I really recommend the book so far if you’re just starting out with Ruby and looking for something fun and simple.
Having finished the first project in the book, I decided to do some quick review on what I have learned with Gosu and make that one bouncing DvD logo thing. You know, the one you keep watching to see if it hits the corner of the TV?
If you’re still not sure, check out this clip from The Office that explains it all:
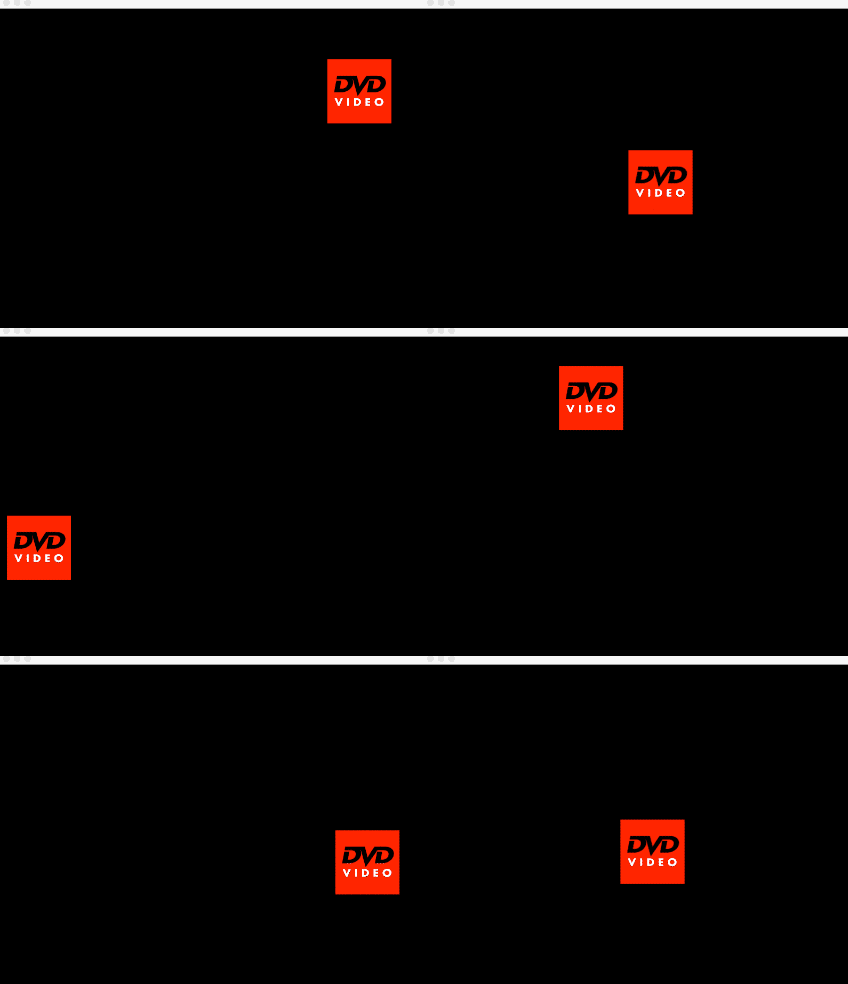
Here’s a gif that shows what my final product looks like:

Note that the actual program runs smoothly. It’s just a bad gif that is not in a perfect loop so the frame rate is terrible.
First things first, we are going to have to make a window appear. To do this, we are going to start off by making a subclass of Gosu::Window. In our initialize method, we are also going to tell Gosu what size we want our window to be. So we use super to pass in the dimensions of the window. Notice that right at the bottom when we call the show method? We didn’t write a method called show but it is included in Gosu.
1 2 3 4 5 6 7 8 9 10 11 12 | |
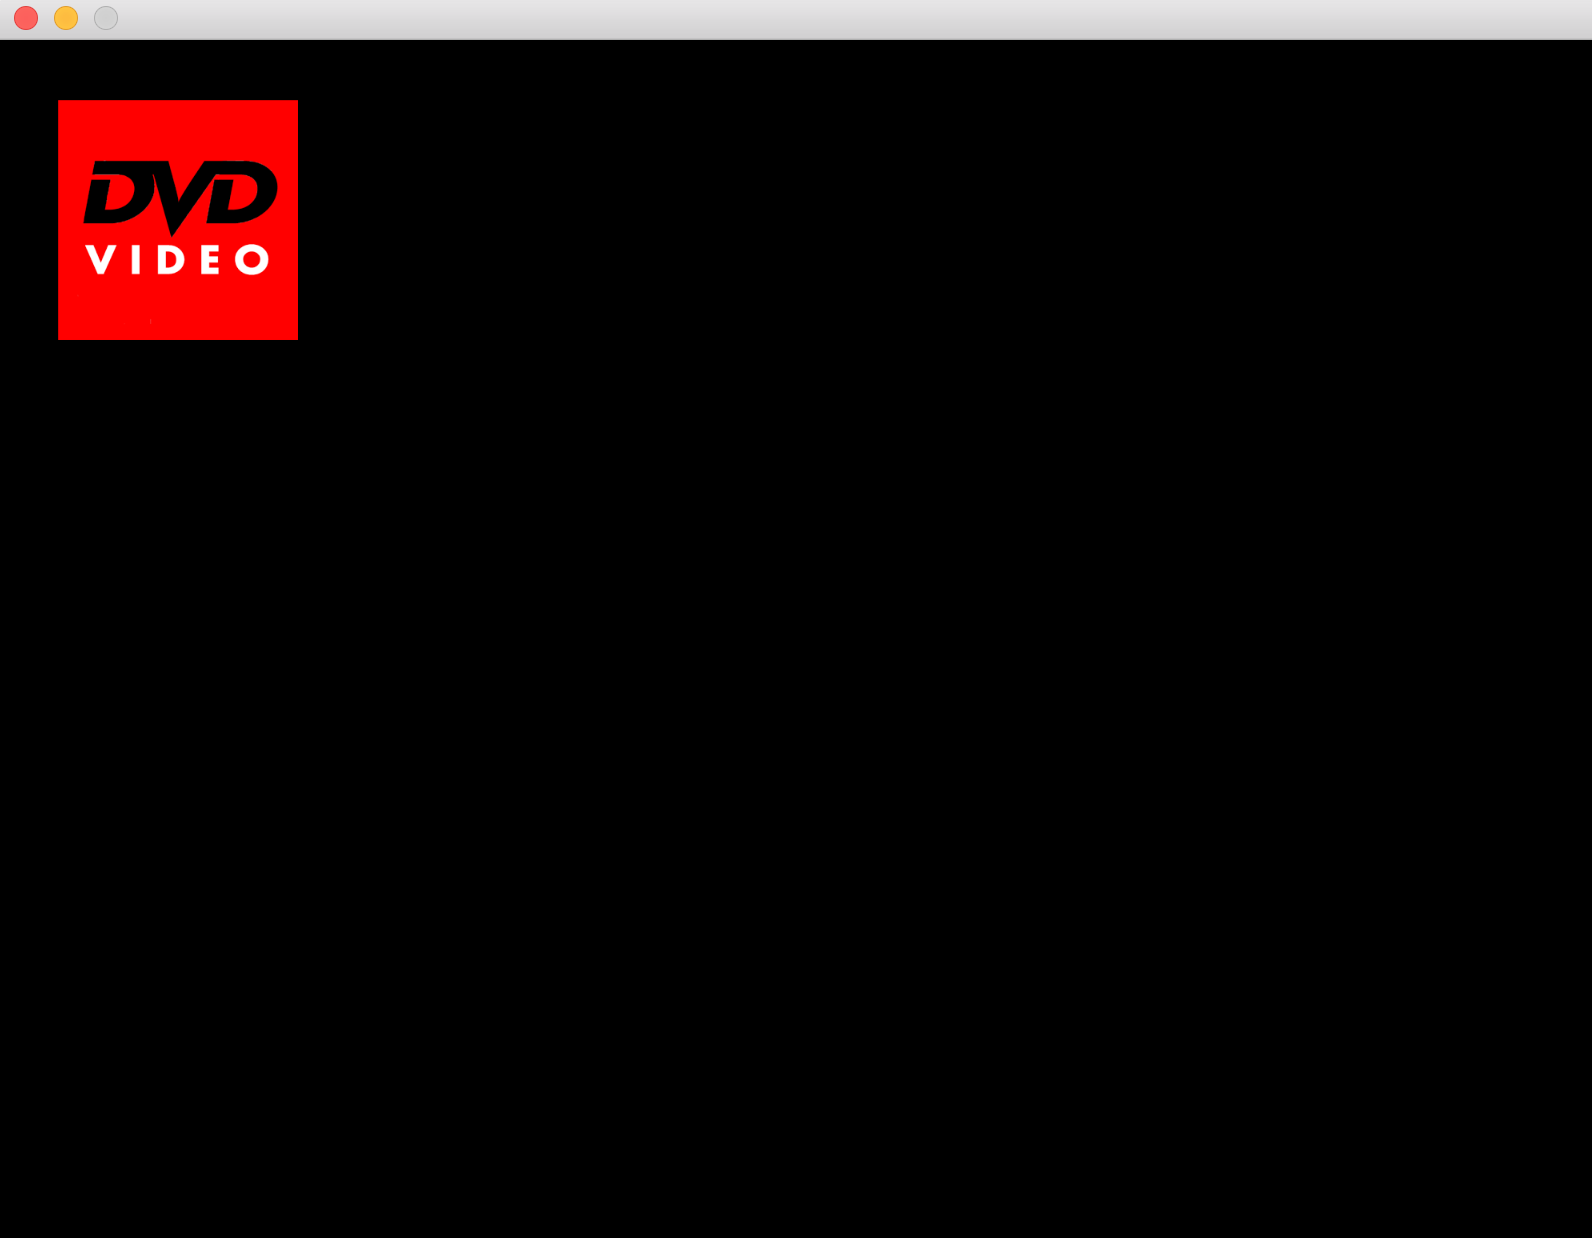
Right now, when we run the program, a blank window should appear. For the next thing, let’s draw the image of the DvD logo onto the window. So we are going to add a draw method to our code. In the draw method, the first two arguments are going to be the x and y axis our image is going to be placed on. If you look below, we can see that Gosu is going to place our logo 30 px from the left and 30 px from the top (It measures this from the top left of our image, not from image center). The third argument is the z-axis. For example, if we had another logo with a higher z, it will be layered on top of our original logo. Finally, the other two arguments is the scale for x and y. Because the picture I picked has a pretty big size, I needed to scale it down so that it would fit in the window.
1 2 3 4 5 6 7 8 9 10 11 12 13 14 15 16 17 18 19 | |
Once we run that code above, we should open up a window and we can see the DvD logo.

Next, we are going to try to move the logo. To do this, we are going to fill up the update method. In our initialize method, we are going to create two more variables for velocity. It will determine how much our logo will be moving. Then, in update, we will add the velocity numbers to our current x and y value. Basically, the logo’s position in the window will be continuously updating by however much the velocity is.
1 2 3 4 5 6 7 8 9 10 11 12 13 14 15 16 17 18 19 20 21 22 23 24 25 26 | |
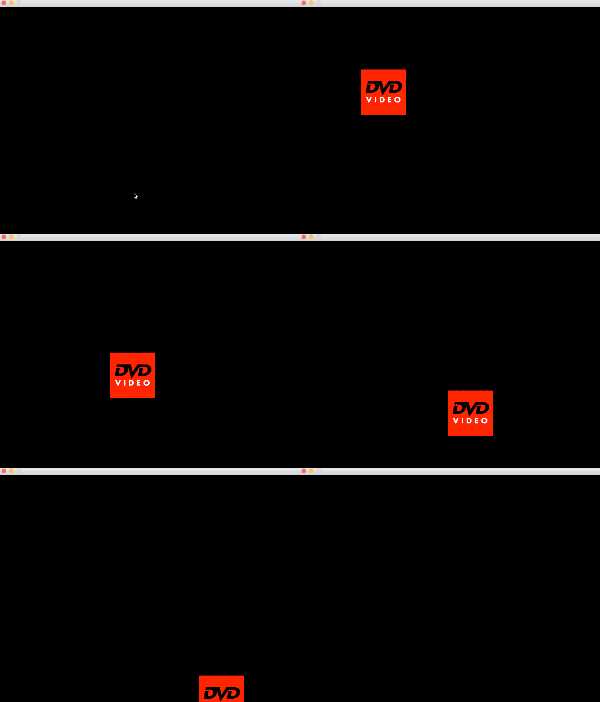
However, here we are going to run into a problem. We want our logo to bounce on the screen once it meets the edge. Our program right now is always adding the velocity to our logo’s position so it will eventually just move off the edge of the screen like so.

To fix this, our velocity will have to become negative once it hits an edge. That way, it will bounce back instead of continuing onwards. Whenever the logo hits an edge, we want it to reverse directions. We can tinker around with the update method even more and get this:
1 2 3 4 5 6 7 8 9 10 | |
The numbers of 800 and 600 come from the window size we had defined in the initialize method. And we also have @x < 0 and @y < 0 to make sure it will bounce on all edges. The velocity gets reversed by multiplying it by -1 to create the bounce. The following gif illustrates the result:

It still isn’t quite right. Remember that our image’s placement in the window is decided by its upper left corner? So notice that in the gif, it actually only bounces on that corner. So while the left and top part of the window looks okay, the bottom and right side shows the logo clipping out of the window’s view. It isn’t what we want. We would like it to actually bounce on the logo’s right side, not just its corner. We can do a little maths and fix this by expanding on the if statement in the update method. Our image size is 120 x 120 so if we subtract the window’s size by that amount, we should be able to find when the logo should bounce. Like so:
1 2 3 4 5 6 7 8 9 10 | |
And great! The result should now be bouncing on the edge of the logo. It was a really quick and easy exercise. The full code can be seen: HERE
Hopefully this demonstrates how easy it is to get started with gosu and animating with Ruby.